
Cleaning and conditioning leather car seats requires a delicate balance of gentle agitation, pH-balanced cleaners, and nourishing conditioners to prevent drying and cracking. When you bring your vehicle into our shop at Custom Details, we often see leather seats that have dried out from summer heat or absorbed blue dye transfer from denim jeans over the years. Maintaining automotive leather is not just about keeping the cabin looking new; it is about preserving the structural integrity of the hide so it does not split along the seams. Many vehicle owners make the mistake of using harsh household multi-purpose cleaners or dish soaps that strip the factory protective coating right off the leather. According to Consumer Reports, using the wrong chemical formulation on automotive upholstery can cause irreversible damage to the finish within a single cleaning session. This thorough guide details the exact process required to clean and condition your car seats safely without damaging the material.
Understanding Automotive Leather Finishes
Almost all modern vehicle leather seats feature a pigmented polyurethane coating that seals the actual hide underneath. This protective layer means you are not actually cleaning raw leather; you are cleaning a clear or colored top coat designed to resist stains and everyday wear. Treating modern car seats with heavy oil-based saddle soaps or traditional boot conditioners is counterproductive because those products cannot penetrate the sealed top coat. Instead, they sit on the surface and create a sticky residue that attracts dirt, dust, and lint from your clothing. Understanding this distinction changes how you approach routine maintenance because your primary goal is to clean the protective coating without abrading or dissolving it. When the top coat wears away through friction or harsh scrubbing, the raw leather underneath becomes exposed to body oils, sweat, and UV rays. This breakdown eventually leads to unsightly cracking, fading, and peeling that requires professional restoration to fix. Knowing your leather type ensures you select the right products for the job.
Perforated leather presents an additional challenge during the cleaning process because excess liquid can easily pool inside the tiny ventilation holes. If moisture or cleaning chemicals get trapped beneath the perforation layer, it can cause mold growth or weaken the adhesive backing of the seat cushion. Professional detailers always apply cleaners to a soft-bristled brush or a microfiber towel rather than spraying liquid directly onto the seat surface. This controlled application method prevents fluids from running down into the heating elements or seat track mechanisms where they can cause electrical faults. Taking your time during this initial assessment phase protects both the cosmetic appearance and the underlying electronics of your vehicle seats. A careful approach ensures you never introduce more moisture than the materials can safely handle.
Factory leather finishes also vary significantly between economy vehicles and high-end luxury models like a Porsche or BMW. Standard production leather often features a thicker, highly durable polyurethane seal that stands up well to daily commuting and family use. Premium or Nappa leather trades some of that heavy-duty durability for an exceptionally soft, supple feel that requires much more frequent conditioning. If you drive a daily commuter exposed to Willamette Valley rain and mud, your seats accumulate stubborn grit that acts like sandpaper against the finish. Regular vacuuming removes abrasive particles before they can grind into the grain during normal driving movements. Recognizing these material differences helps you tailor your cleaning schedule to match the specific demands of your vehicle.
Gathering the Right Tools and Safe Cleaners
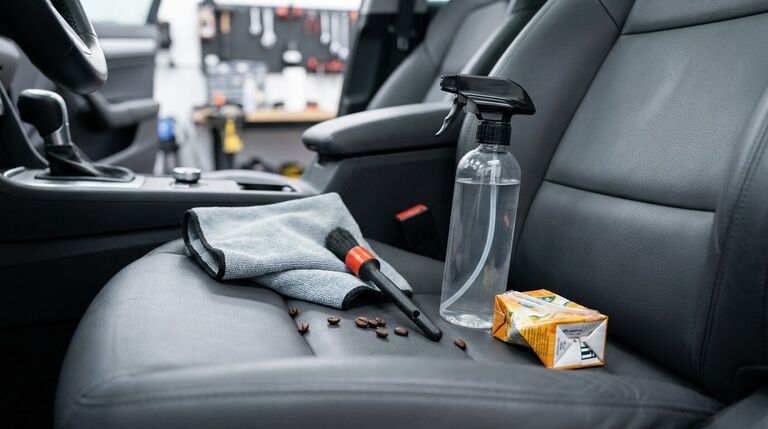
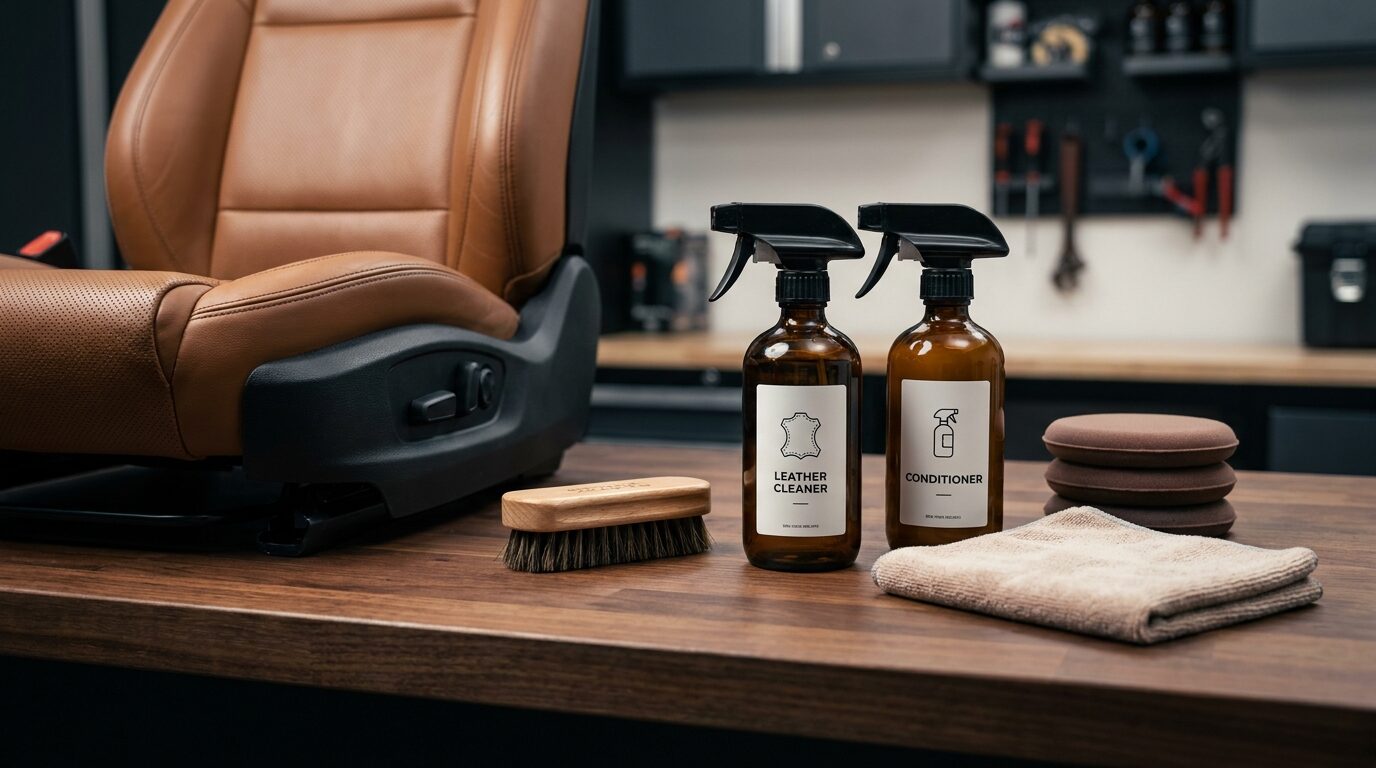
Choosing the correct cleaning solutions is the single most important factor in preventing accidental damage to your interior. You should always look for dedicated automotive leather cleaners that feature a balanced pH level close to that of human skin. Avoid any product containing petroleum distillates, silicone, or abrasive scrubbing agents that can strip the factory dye or dull the matte finish. Professional shops rely on specialized chemical formulations that lift body oils and ground-in grime without altering the factory sheen of the upholstery. Pairing your cleaner with a high-grade microfiber towel and a specialized horsehair leather brush ensures safe agitation without scratching the delicate top coat.
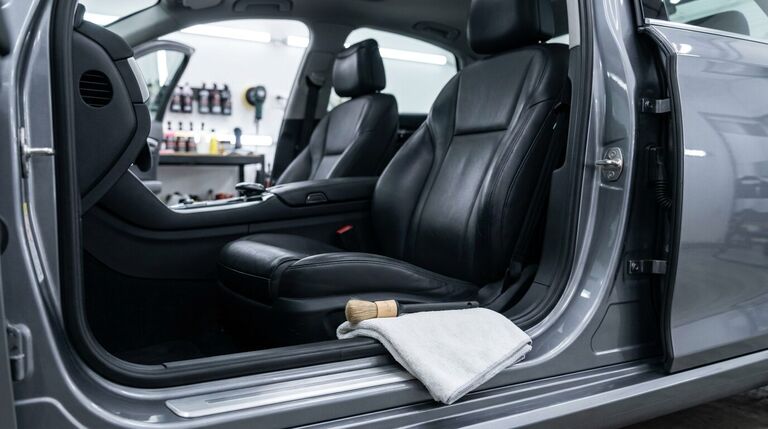
Horsehair or ultra-soft synthetic brushes are essential for working cleaning lather into the textured grain of the leather surface. Stiff nylon household brushes are far too aggressive and will quickly abrade the colored coating off the bolster areas of the driver seat. When you move the brush across the seat, let the bristles do the work instead of pressing down with heavy downward force. This gentle sweeping motion lifts trapped dirt out of the pores and crevices of the leather without putting undue stress on the stitching. After agitating a small section, immediately wipe away the suspended residue with a clean, dry microfiber towel before the foam has a chance to dry.
Having a second damp microfiber towel on hand allows you to perform a secondary wipe-down to remove any lingering chemical residue from the seat. Leaving cleaning product residue on the leather surface creates a film that attracts fresh dirt the moment someone sits down. Once the seats are completely clean and dry, you can prepare for the conditioning phase using a separate applicator pad. Keeping your detailing tools dedicated strictly to leather care prevents cross-contamination from wheel cleaners or glass sprays that could ruin the hide. Professional preparation always yields a clean, uniform finish across every seating surface in the cabin.
Step-by-Step Cleaning Procedure
The cleaning process always begins with a thorough vacuuming of every seat creasure, fold, and seam using a soft brush attachment. Crumbs, sand, and sharp grit accumulate rapidly in the seat pockets, and rubbing cleaner over this debris will scratch the leather finish. Take extra time around the seat belt buckles and side bolsters where dirt hides out of plain sight. Once the loose debris is completely removed, you can begin the liquid cleaning phase one section at a time. Breaking the interior down into manageable areas like the base, backrest, and headrest ensures you do not miss any spots or let cleaning foam dry out.
Apply a small amount of your pH-balanced leather cleaner directly onto your horsehair brush or microfiber applicator pad. Gently work the product into the leather using circular motions to create a light, uniform lather across the surface. You will often see the foam turn slightly gray as it lifts accumulated body oils, sunscreen, and clothing dye out of the grain. Do not soak the leather, and never allow cleaning solutions to pool in the perforated center panels of heated seats. Work methodically across the driver seat, passenger seat, and rear bench to maintain an even cleaning standard throughout the cabin.
Immediately after agitating a section, wipe the area firmly with a clean microfiber towel to extract the lifted dirt and moisture. Turn the towel frequently to a fresh side so you are constantly wiping with a clean surface rather than spreading dirty residue back onto the seat. Inspect the leather under good lighting to ensure all embedded grime has been successfully lifted from the grain texture. If stubborn stains or dye transfer remain on light-colored leather, repeat the gentle agitation process rather than pressing harder. Patience is vital when dealing with delicate automotive finishes to avoid wearing through the protective top coat.
Conditioning and Protecting the Hide
Once your leather seats are thoroughly cleaned and completely dry, applying a quality conditioner restores essential moisture and suppleness. Over time, environmental heat and sun exposure deplete the natural emollients within the leather structure, leading to stiffness and eventual cracking. A good automotive conditioner penetrates the micro-pores of the top coat to nourish the material while leaving a dry-to-the-touch finish. Avoid heavy greasy dressings that leave the seats slippery or transfer unwanted oils onto your clothing during your commute. Proper conditioning also adds a protective layer that helps block UV rays and resists future staining from spills.
Pour a few drops of leather conditioner onto a clean foam applicator pad rather than pouring the liquid straight onto the seat. Spread the product evenly across the surface in a thin, uniform layer, paying special attention to high-friction areas like outer bolsters. These high-wear zones experience constant sliding friction every time you enter or exit the vehicle, making them prone to drying out first. Allow the conditioner to dwell on the leather for a few minutes so the nourishing agents can properly absorb into the material. The exact dwell time varies depending on ambient shop temperatures and the specific product formulation you choose to use.
After allowing the product time to absorb, take a clean microfiber towel and buff the entire seating surface to remove excess residue. This final buffing step ensures the leather retains its factory-correct satin appearance rather than looking overly glossy or wet. If the seats still feel slightly tacky, you have applied too much product and need to buff more vigorously with a dry towel. Regular conditioning performed every three to six months keeps the hide flexible and resilient against the rigors of daily driving. Maintaining this routine prevents premature aging and preserves the premium feel of your vehicle interior.
Common Mistakes That Ruin Car Leather
One of the most destructive mistakes vehicle owners make is using household all-purpose cleaners or magic erasers on leather seats. Magic erasers are essentially ultra-fine abrasive sandpaper that will instantly strip away the colored top coat and ruin the finish. Similarly, dish soap and ammonia-based glass cleaners strip away essential moisture and leave the leather vulnerable to immediate cracking. Once the protective top coat is abraded away by abrasive scrubbing pads, the raw leather absorbs liquids and body oils permanently. Restoring damaged leather surfaces often requires professional dye touch-ups and re-spraying, which can become quite costly.
Another common error is neglecting regular maintenance until the leather shows visible signs of severe neglect or cracking. Once deep cracks form in the material, simple conditioning treatments can no longer fix the structural damage because the hide itself has split. Prevention through regular cleaning and prompt spill management is vastly superior to trying to repair deteriorated upholstery down the road. Parking your vehicle outside in direct sunlight without window protection accelerates the drying process exponentially. Combining regular interior cleaning with a professional Feynlab ceramic coating or window tint helps shield your entire cabin from harsh solar degradation.
Using improper conditioning products that contain heavy silicones or petroleum ingredients creates long-term problems for your interior trim. These cheap products form an artificial barrier that seals dirt beneath a slick film while making the seats dangerously slippery during cornering. A slippery seat forces the driver to tense their muscles to stay properly positioned behind the steering wheel during normal driving maneuvers. Always verify that your chosen interior care products are specifically formulated for modern automotive leather rather than generic household furniture care. Taking shortcuts with inferior supplies almost always leads to disappointing cosmetic results and accelerated wear.
When to Seek Professional Interior Detailing
While routine maintenance can easily be handled at home, severe neglect, ground-in ink stains, and heavy dye transfer require professional intervention. Professional detailers utilize commercial-grade extraction equipment, specialized steam tools, and professional leather repair dyes to reverse significant wear safely. If your leather seats have developed dark blue jean stains that refuse to lift with standard consumer cleaners, professional chemical solutions are necessary. For full interior restoration, many vehicle owners pair their leather cleaning with a complete interior detail at Custom Details to reset the entire cabin.
Professional shops also have access to specialized leather repair compounds that can fill minor surface cracks and respray worn bolster areas. Attempting DIY leather dye kits at home often results in mismatched colors and patchy textures that look worse than the original wear. Professional technicians carefully match the factory dye code and spray the repair using specialized equipment for an undetectable finish. This level of precision is especially important for luxury vehicle owners who want to maintain the original factory aesthetic of their interior trim. Investing in professional care protects your automotive investment and keeps the cabin smelling fresh and looking immaculate.
In addition to leather care, maintaining the exterior paint and glass is just as important for protecting your overall vehicle investment. Debris from regional roads like I-5 and US-26 can pit your front end, while daily weather exposure degrades your clear coat. Pairing your interior leather maintenance with protective services like a Global Films paint protection film package ensures your vehicle looks its best inside and out. Thorough car care addresses every square inch of your vehicle using proven techniques and premium materials designed to last. Professional expertise ensures your car receives the exact level of attention it needs to withstand years of everyday driving.
The trade-off with leather is between products that make it look good today and products that keep it from cracking in five years, and the two are rarely the same bottle. Glossy conditioners and all-purpose cleaners give the fastest visual result and do the most long term harm. For daily drivers, Custom Details recommends a pH balanced cleaner and a matte, water based conditioner a few times a year, and a professional interior detail when the grain has started to hold dirt that a home wipe-down cannot lift.
Frequently Asked Questions
Can I use baby wipes to clean my car leather seats?
Baby wipes often contain alcohol, fragrances, and harsh preservatives that break down the protective top coat on automotive leather over time. You should always use a dedicated pH-balanced leather cleaner instead.
How often should I condition my car leather seats?
You should clean and condition your leather seats every three to six months depending on how frequently the vehicle is driven and exposed to sunlight. High-use daily drivers may require more frequent attention.
What removes stubborn jean dye transfer from light leather?
Light jean dye transfer requires a dedicated leather cleaner combined with an ultra-soft horsehair brush to gently lift the pigment out of the grain without scrubbing away the factory dye.
Will conditioning make my leather seats slippery?
Quality leather conditioners absorb fully into the material and leave a dry satin finish when buffed correctly with a microfiber towel. Greasy residue only occurs if you apply too much product.
Related service: Learn more about car detailing in Portland at Custom Details, installed in-house at 3433 SW Multnomah Blvd, or request a quote and call (971) 400-1406.